Example System / Genius Vision Rapid Answerer

How to retrieve/transfer recorded video files
Recorded video files of Genius Vision NVR can be moved easily with Windows File Explorer. For files to be loaded into NVR, you need to…
- Use consistent channel names
- Put the files in recording directory
Consistent channel names
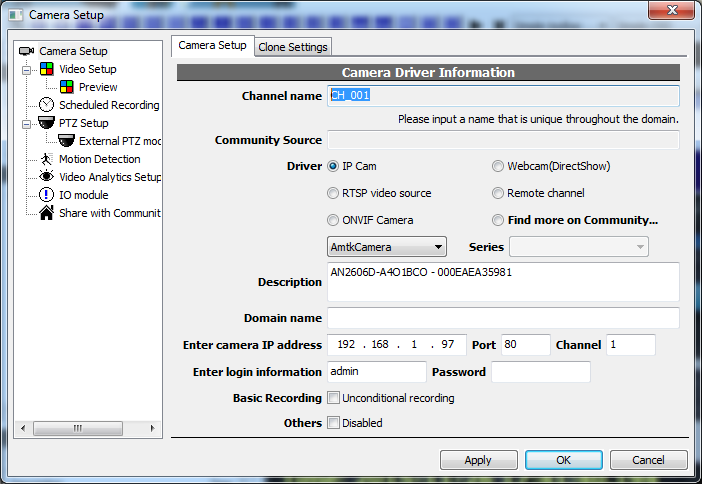
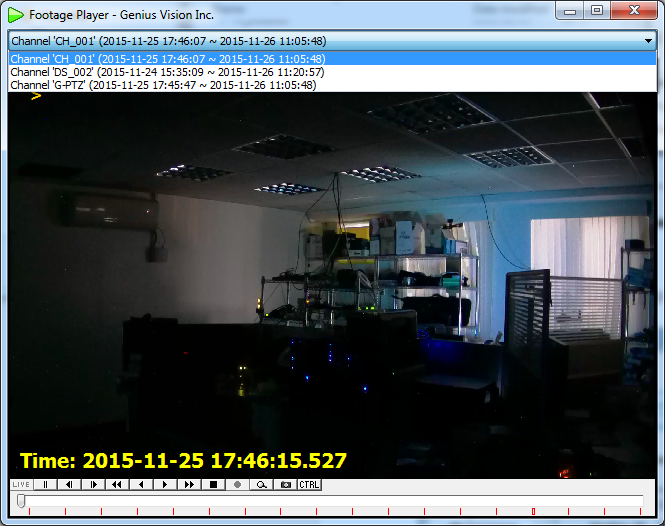
In the following image, the channel name is CH_001. If you move recorded video files of CH_001 to another NVR but CH_001 does not exist in that NVR , you will not see recorded video.
Recording directory
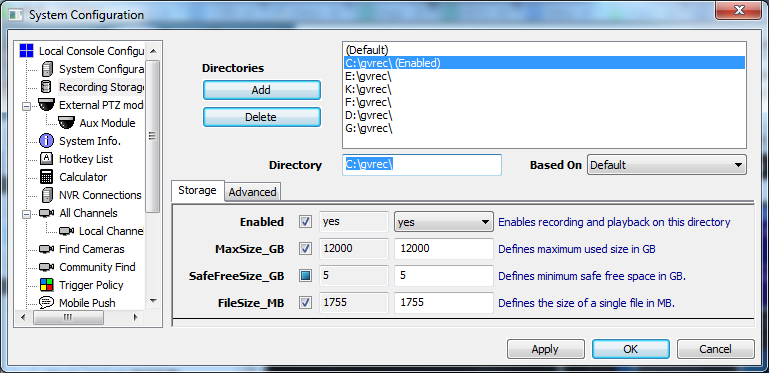
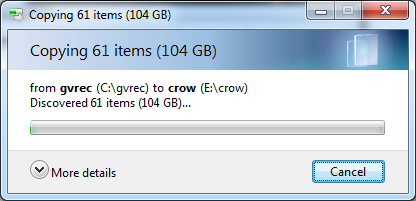
Use Storage Config dialog to find recording directories. In the following screenshot you can see the full path 'C:\gvrec\'.
Navigate to the directory in File Explorer and you will see all the recorded files.
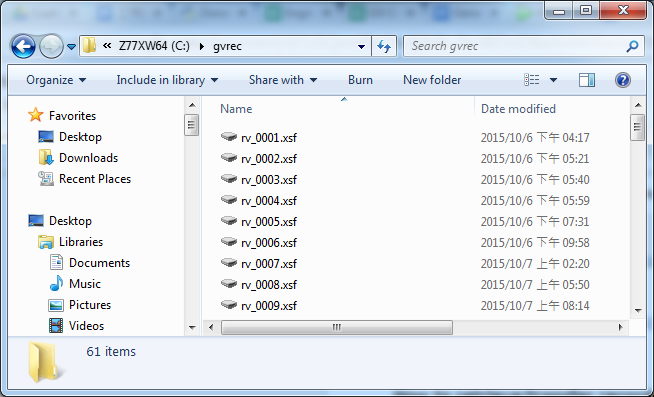
Double click on any of the files to open it with Genius Vision local player (if it's installed). You can see what channels and what time frame are in the files.
Moving recorded video data
To move recorded data, simply use File Explorer to copy/paste from source NVR to destination NVR. The files need to be put in any of the recording directories. Recorded video data is very large in size and you probably need to use swappable hard drives or local network.
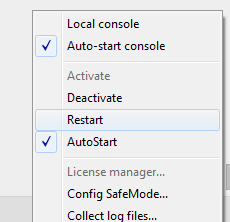
After files being transferred, restart NVR engine to load the files. It takes time for NVR to scan and index them before it can be viewed.